
London is bursting with green inspiration right now. From community gardens to creative scarecrow trails, families across the city are rediscovering the joy of growing food and understanding where it comes from. If you are looking for family-friendly outdoor activities in London, this growing movement is well worth exploring.
Community Gardening in London is Thriving
Across neighbourhoods, community gardening projects are transforming small urban spaces into productive, beautiful environments. These gardens are helping children and adults learn about how to grow food at home, seasonal planting, and sustainability.
Seed sharing is a big part of the movement. Gardeners exchange seeds, advice, and encouragement, making it easier for beginners to get started. This kind of collaboration supports sustainable living in London and strengthens local communities.
Teaching Kids About Organic Farming
One of the most valuable aspects of these initiatives is the introduction to organic farming principles. Many community gardens avoid chemicals and focus on natural growing methods. Children can learn about composting, pollination, soil health, and biodiversity.
Understanding organic gardening for kids helps build awareness of healthier food choices and environmental responsibility. It also connects families to the idea of farm to table food, even in a busy city like London.
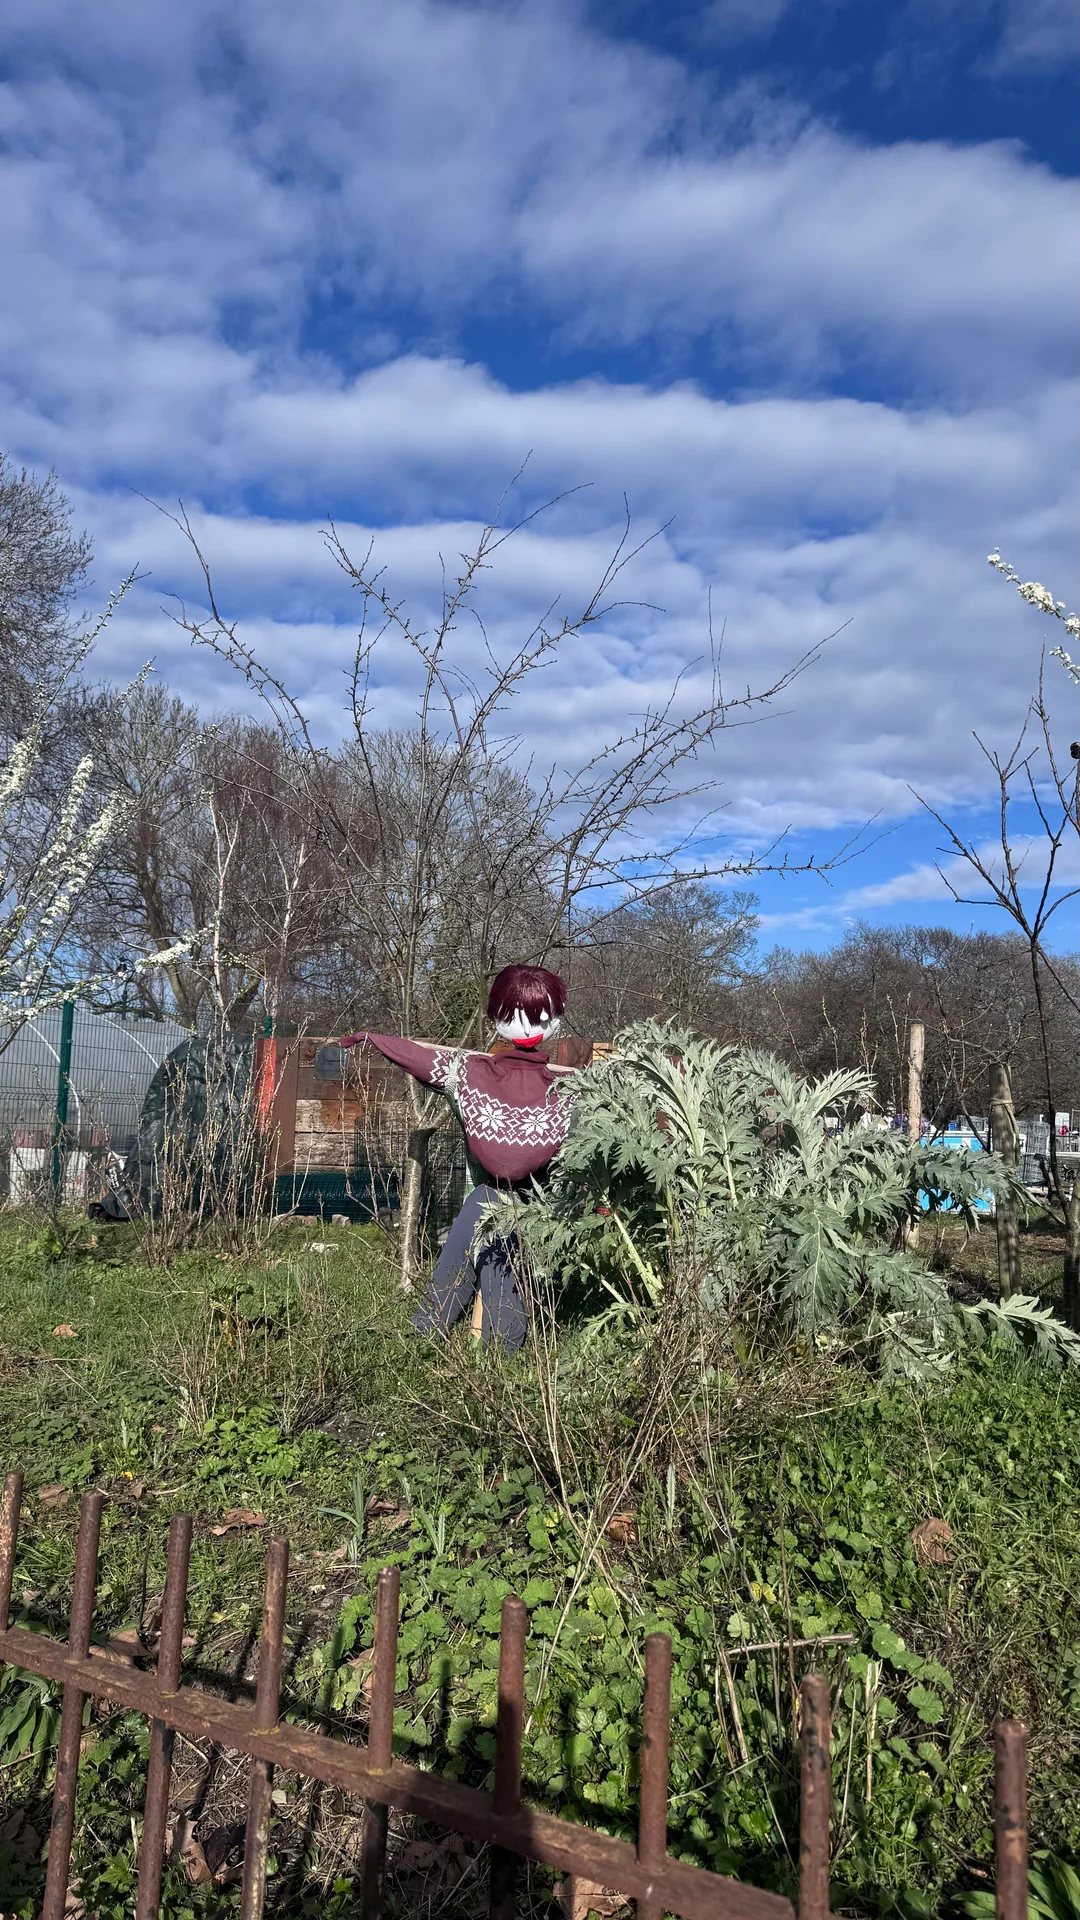
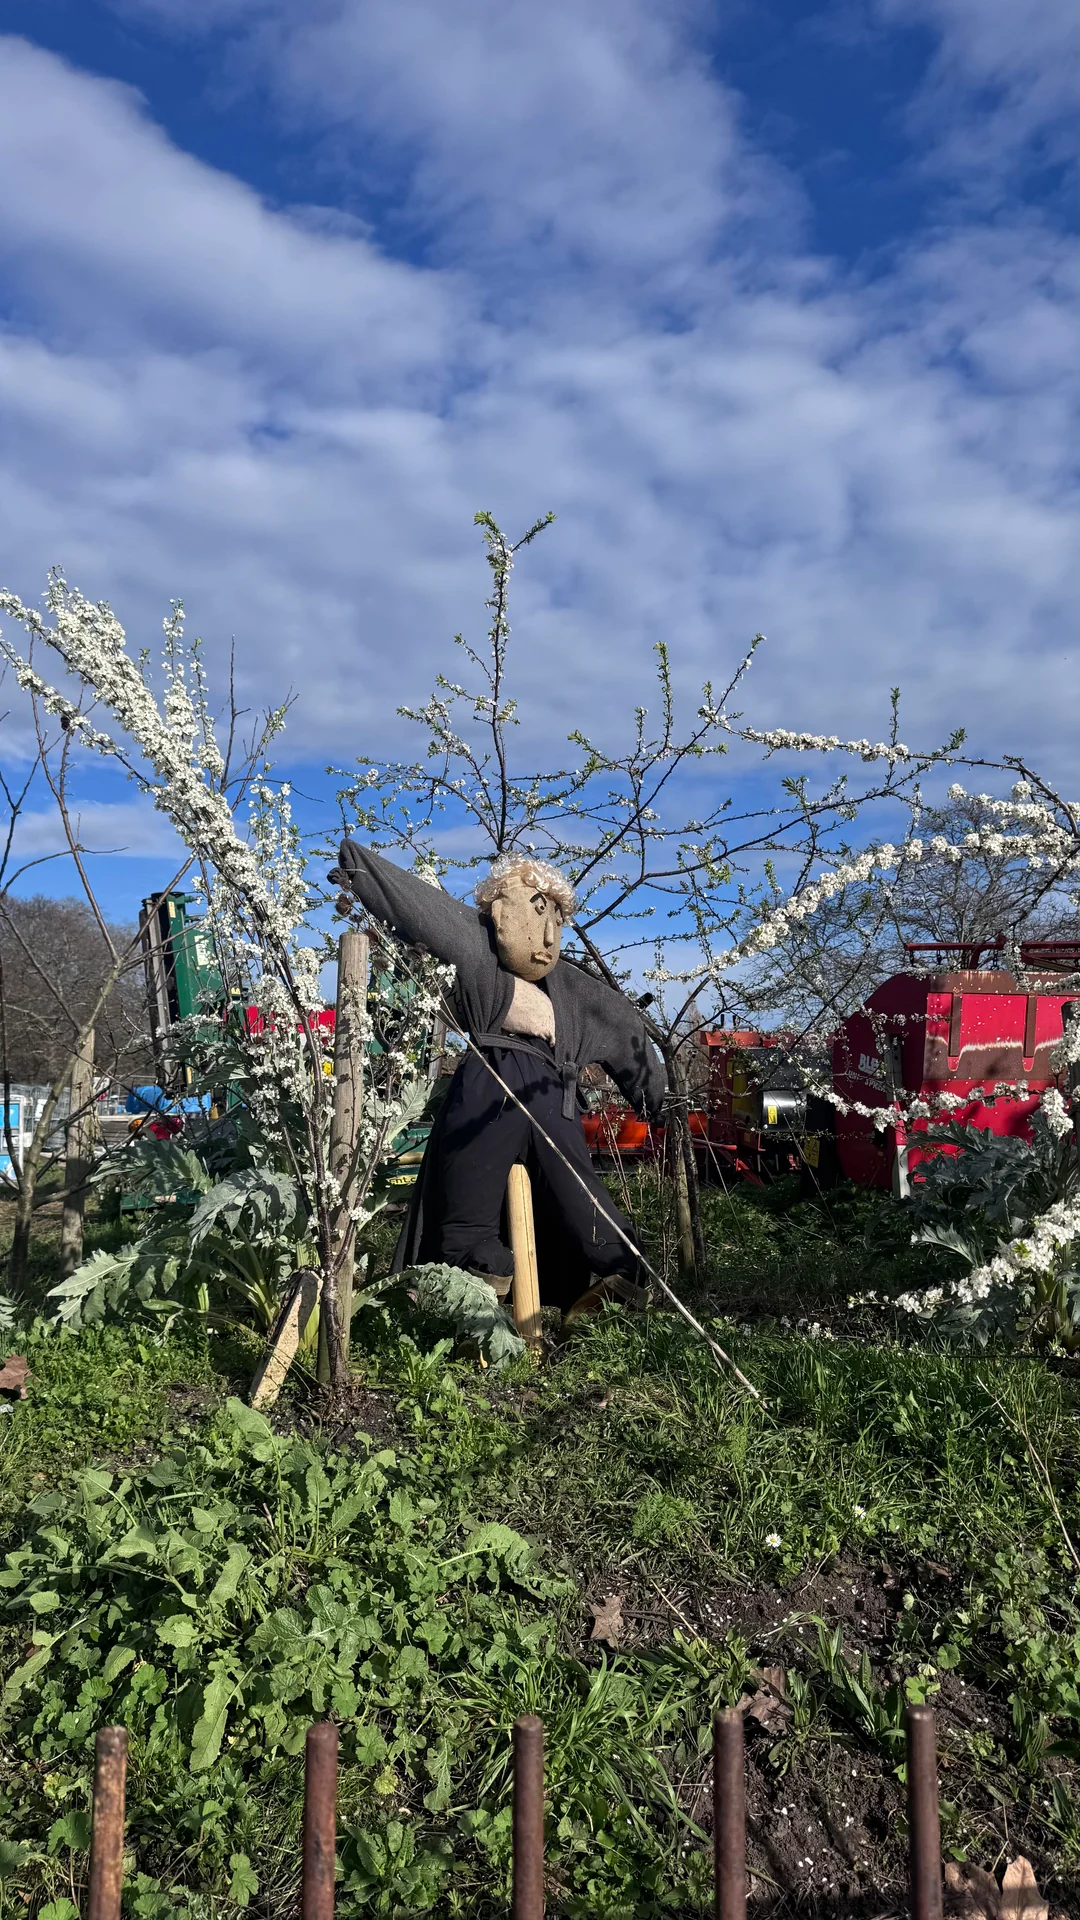
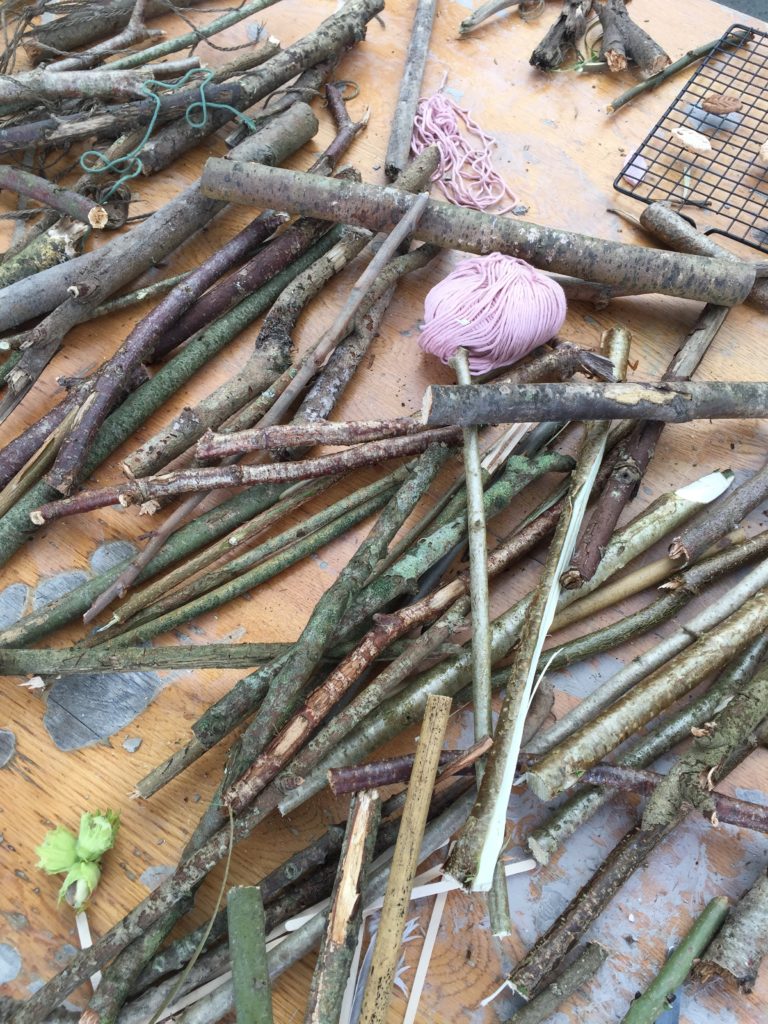
Scarecrow Trails Bring Creativity to Life
Scarecrow trails are adding a magical, creative layer to these green spaces. Local families, schools, and volunteers design and build unique scarecrows that reflect their personalities and community spirit.
A fantastic example is the work by Bandstand Beds. You can read more about their latest scarecrow celebrations here:
https://bandstandbeds.org.uk/another-fantastic-year/
Their project highlights how community gardening projects in London can blend creativity, education, and fun. The scarecrows make gardening spaces more engaging for children and turn a simple walk into an interactive experience.

Explore with Go Jauntly London Walks
If you want to discover these spaces easily, try one of the Go Jauntly walking routes. These walks are designed to help people explore greener parts of the city while supporting wellbeing and sustainability.
You can browse routes here:
https://walks.gojauntly.com/
One standout route is the TfL20 Clapham Explorer trail. This walk takes you through local gardens, community growing spaces, and scarecrow displays, offering a perfect family walk in South London.
A Perfect Stop at Pear Tree Café
At the end of the trail, you can stop by Pear Tree Café for a well-earned break. Surrounded by greenery, it is a great place to relax and reflect on everything you have seen while enjoying fresh, seasonal food.
Why This Movement Matters
This growing trend supports several important ideas:
Encouraging urban gardening in London
Promoting eco-friendly family activities
Supporting local food growing initiatives
Teaching children about where food comes from
It shows that even small actions like planting seeds or joining a local garden can make a big difference.
How to Get Involved
Getting started is easier than you might think:
Visit a local community garden
Join a seed swap event
Follow a scarecrow trail
Start growing herbs or vegetables at home
Whether you have a garden, a balcony, or just a windowsill, there is always a way to take part in growing your own food in London.
This is a collaborative post.


 Ingredients
 Method

