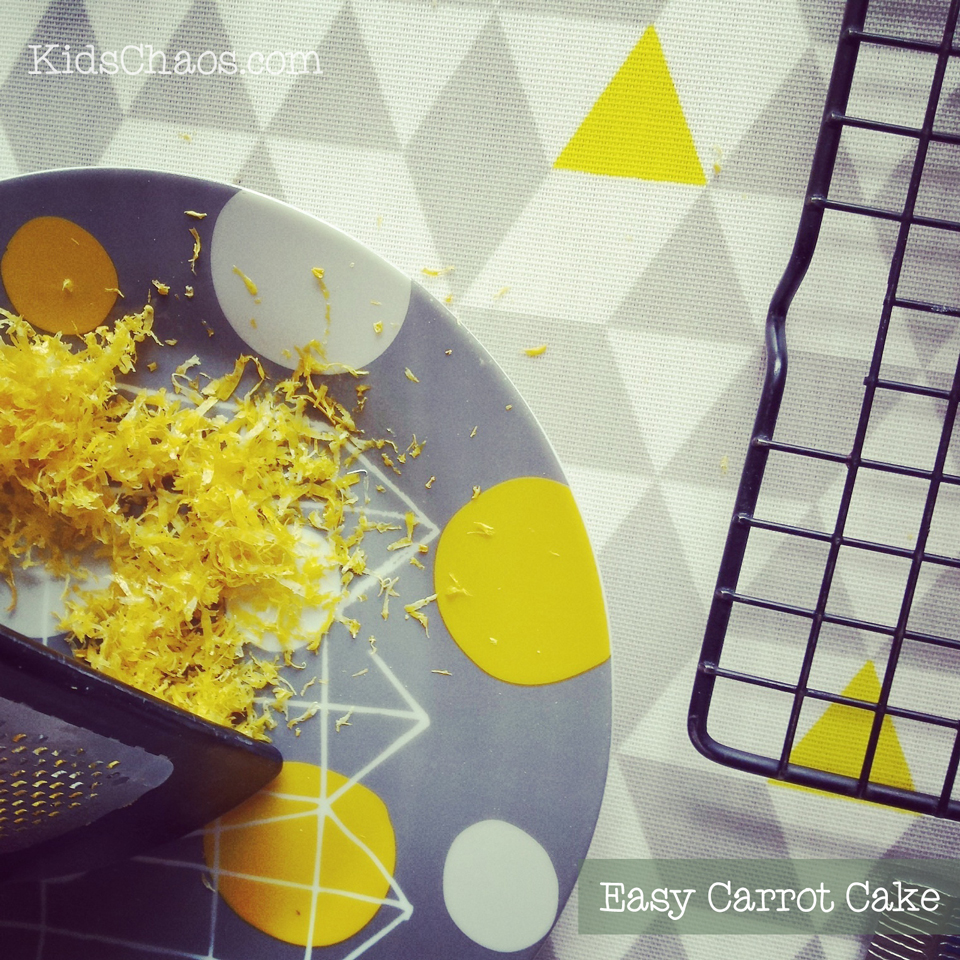
The carrot cake is a classic, and this carrot cake recipe’s a super-simple variation on that delicious theme. Just add grated carrots to the dry ingredients, which include both plain and wholemeal flour for extra texture.
Once you’ve beaten in free range eggs and some butter, you’re away – just pop it in the oven. The tangy lemon icing on this carrot cake recipe contrasts with the sweet, cinnamon-flavoured cake to really bring the flavours to life.
Ingredients
200 g (7oz) self raising flour
115 g (4oz) wholemeal flour
350 g (12oz) caster sugar
2 tsp ground cinnamon
2 tsp bicarbonate of soda
250 ml (9fl oz) butter
3 Large carrots, peeled and grated
4 organic free range eggs Icing
2 unwaxed lemons, zested
225 g (8oz) Fairtrade icing sugar
Method
Mix together all dry ingredients in a large mixing bowl.
Mix in carrot and gradually beat in Flora Cuisine and eggs. Pour into a greased and bottom lined 20cm (8-inch) square cake tin.
Bake in preheated oven 180°C, 160°C fan, gas mark 4 for 45–55 minutes. Cool on a wire cooling rack. Icing – Zest the lemons. Squeeze out the juice and add to icing sugar in a bowl with the segments. Mix gently and spread over the cake. Sprinkle with the zest.
Note – make sure your icing is not too runny – we had lots of fun scraping the icing off the board as it dripped through the cooling rack!!
I have always wanted a dream pet which was created by my own imagination. This is why I jumped at the chance to have my own dream pet made into a real plushie.
My dream pet would always have to be some sort of a colour changing reptile or a chameleon. I have always loved chameleons because of their ability to change colour to suit their surroundings or environment which they are in.
It would sleep and live somewhere warm and comfortable because I would think that if I designed an animal, it would like to be in comfort wherever it can.
My dream pet would eat foods which are high in protein and carbs as it would be roaming free for most of its life and would need the energy to keep it healthy.
The creature would be intelligent enough to understand basic tasks and to know right from wrong to a certain extent, however, this animal is not a human so it cannot communicate with speech.
The dream pet would not need to have a collar or a lead to take on walks because the creature would be capable of finding its way back wherever it is. It would not need to be taken on walks either as it takes itself around without help from its owner (me).
Of course there is no need to get a pet anymore as we are currently happy with our young cat kipper.
You may well know that Mum finally caved in and we got a cat earlier this year who she’s sensibly covered with Pet Insurance from Petplan, but we do still like the idea of an exotic pet too. Maybe a stick insect or a lizard? Anyway delighted we had a go at drawing our dream pet, and Mum had them made into soft toys and awwww we love them!
This post has been possible thanks to Petplan, but all thoughts are my own.
Follow my mum @incredibusy over on twitter, insta, pinterest and facebook too….x
Family time together just so special as our boys get older – they are more independent and dare I say a little ‘feral’ this year? We’ve had the best of times and made new friends, made memories, and given us something to look forward to next summer too – why? what? how? you ask? Well, a week at Fforest gather, that’s what!
Over to Spike age 15:
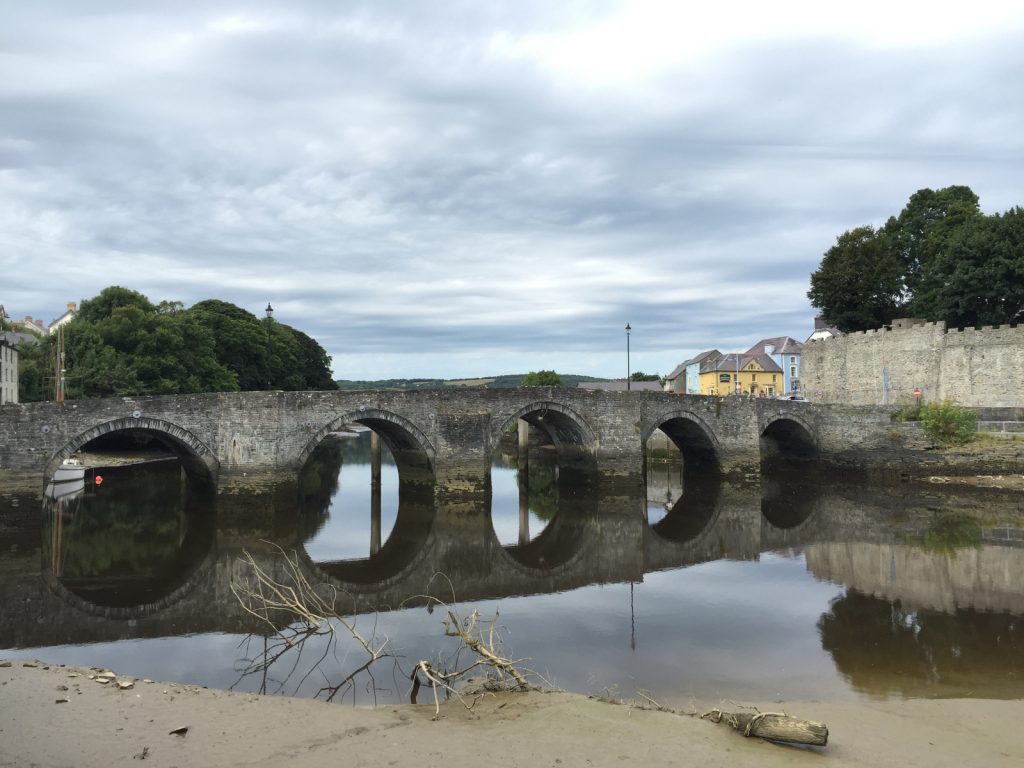
If you’ve not heard about Fforest gather – you’re clearly not following @incredibusy on the instagram – or @coldatnight, which you should remedy forthwith – follow us here and here… It’s through instagram that Mum, and it transpires on chatting to fellow campers at Fforest gather, many others, have ‘met’ Sian and fallen in love with what she and husband James have been doing in Cardigan, Wales for the last couple of years…
A small intimate ‘festival’, not really a festival, but that explains the basis of the event – week long holiday with accommodation (optional, you can also bring your own tent/camper van) and daily workshops you won’t want to miss… a new kind of holiday in fact! Two family friendly weeks of adventures in nature, music, culture, creativity and simple pleasures.
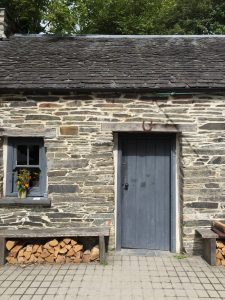
We stayed in one of the ‘group tents‘ – our family in one end, in two bedrooms, and our friends and their three small children in the facing ‘tent’. We brought our own sleeping bags and pillows, and the shared bathrooms a short walk away were positive luxury compared to some campsites we’ve stayed in! The group tents have a communal cooking, and eating area in the centre – and an amazing view across the fields. However, after trying the first catered meal in the canteen, we decided that we’d ditch the camp cooking, and eat with the majority of the other campers – the breakfast and evening meals were just amazing – and the dining area was super conducive to socialising too.
The beauty of the Fforest gather is that the workshops, talks, walks, performances and activities are all included in the ticket price. Two sessions a day, one at a very civilised 10am, and the afternoon sessions start at 2pm – Between our two families, we tried Screenprinting, Nature illustration; natural dyeing, canoeing, Tamsin with her pencil and puppet making, Bees make honey with the honey farm, making bacon, smoking fish, making cheese, cooking with fire; axe & knife craft; yoga and wellness; drumming; beer cocktail classes; bird illustrations, silver ring making; forest school sessions; den building; tree climbing; wild swimming and learnt about foraging with Jade and coppicing with Bruce – woah, all in one week?!
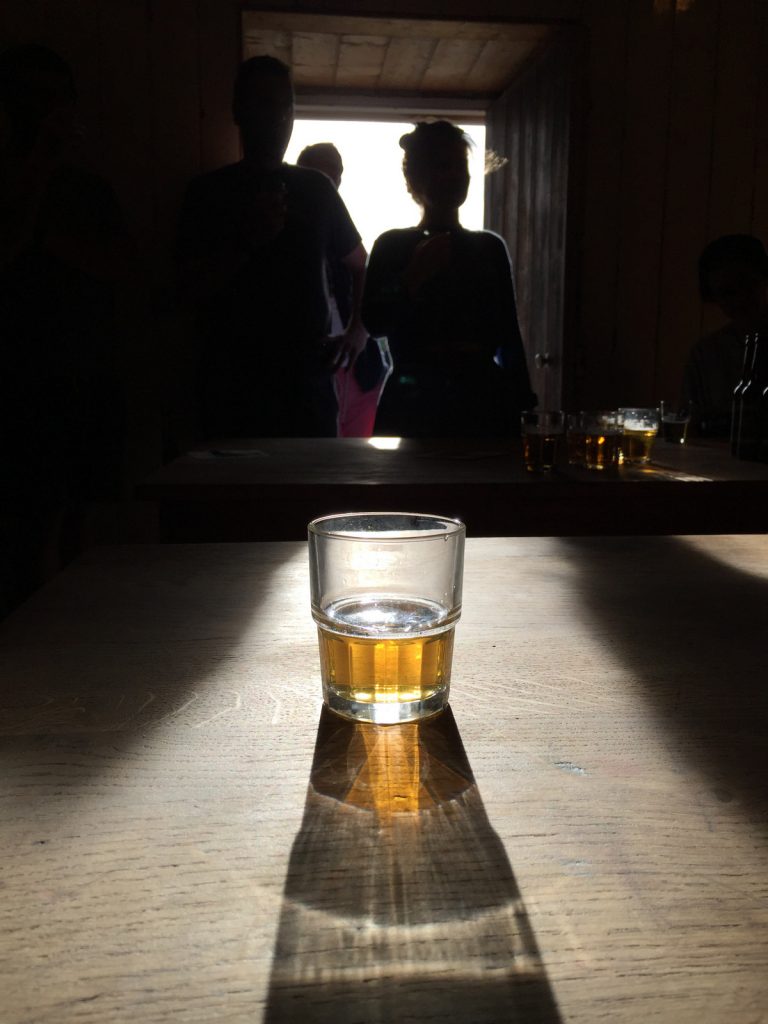
The evenings were equally entertaining, with, Music from Eyre Llew, and DJs and chatting, and Fforest Island discs, and beer drinking at the adorable little ‘Bwthyn pub‘. Candle lit, and roaring fire – this little pub is located at the heart of the Fforest camp.
A brief selection of our favourite workshops: Natural dyeing with Hazel Stark – Indigo Shibori (a Japanese pattern technique) – we were so blessed with the weather, so a day spent outside in the Fforest vegetable gardens, patiently folding, pegging and dipping our canvas tote bags was well spent.
Indigo Dye
Bird drawing with Matt Sewell, such a delight; as was the glasses onto inanimate objects with Finn Thomson making faces and giving objects sight – such a fun workshop! Seeing objects – using wire, paper, glue, and a LOT of imagination, in the project barn.
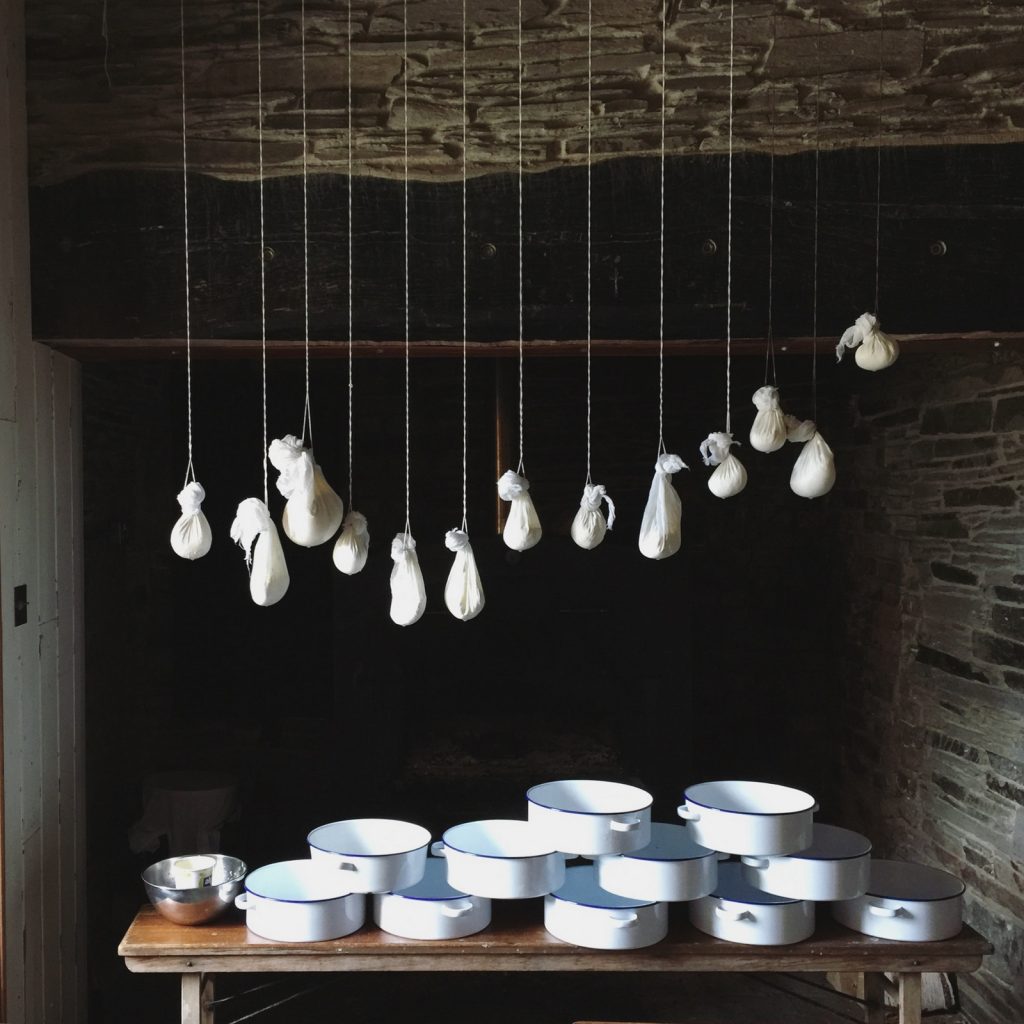
Cheese making was a revelation (and made for the best photos! #instagramthat) Curds and whey with cheese chief Max – who it transpires, can also tell a tale, and sing a song….
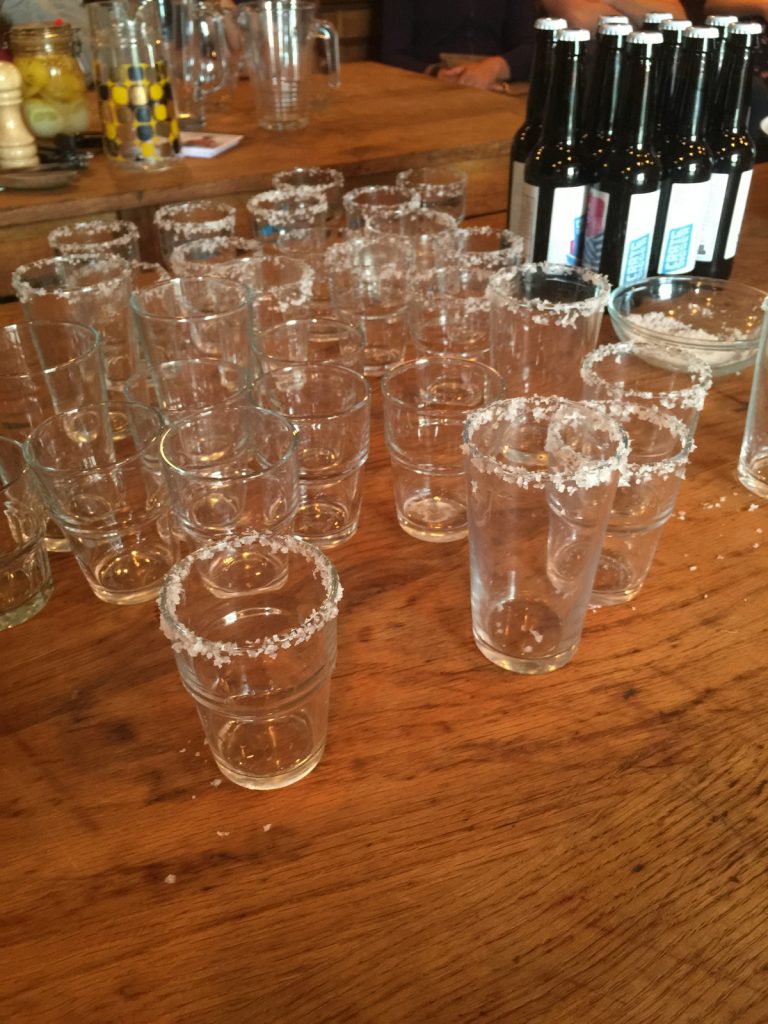
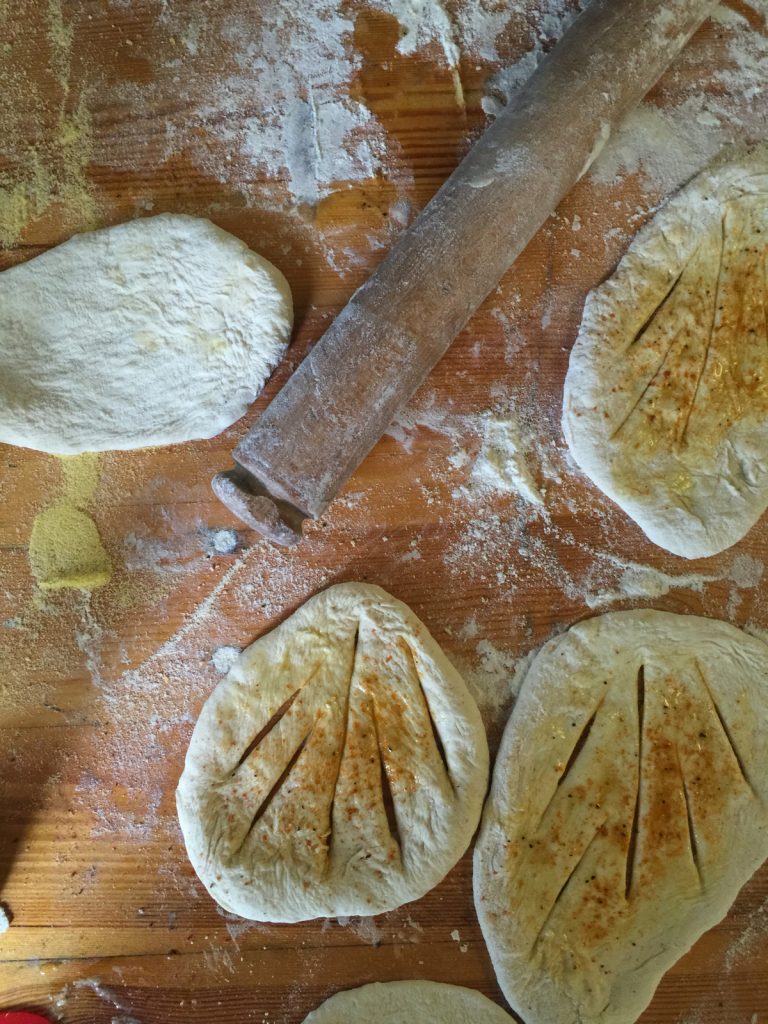
Beer was high on the agenda for the grown-ups, with Evil Gordon doing a turn talking beer cocktails, Beerbods, and sourdough bread making in the wood fired oven.
And then there was foraging! @wildpickings🍃🌿 Jade took us on a walk; foraging for edible hedgerow wonders – we’ve learnt such a LOT this week 🍃🌿
Seriously, this is an event/holiday/week long party I would recommend – such a lovely way to spend time with your family.
We went with good friends, and came away with even more…
The FarmhouseMusic from Eyre LlewBeer cocktails in the FarmhouseCoppice College
In the tool shedwalk into Cardigan to visit the PizziTipiSunset over the TipiForage basketsmaking sour doughCoppice College Woodburner
Time to plan for 2018… 23 JULY – 5 AUGUST 2018 www.fforestgather.co.uk
A new kind of holiday.
Two family friendly weeks of adventures in nature, music, culture, creativity, making, growing & simple pleasures.
500 acres of bliss. Only 300 tickets available each week.
Week 1 – Monday 23rd – Sunday 29th of july
Week 2 – Monday 30th july – Sunday 5th of august
So with much delight, we introduce our latest invention, the Milk Carton Skull Lanterns!
Spike age 14:
We really wanted to have a go at making some skull lanterns, and thought the milk carton would be perfect for this, and it wasn’t until we started planning the graphics for it that we realised how brilliant it was that the handle itself created two brilliant indentations that were perfect for the skull’s eye sockets!!
We’ve since made LOADS of these are they are so easy to make, you can either print off the FREE printable here, or use marker pens, like these * affiliate links which work really well on plastic bottles – for full instructions watch my Mum’s incredibusyyoutube video here.
For the PRINTABLE Skull’s face template click here
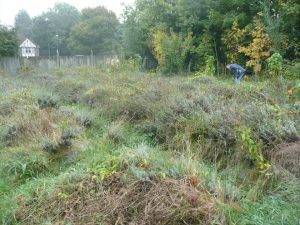
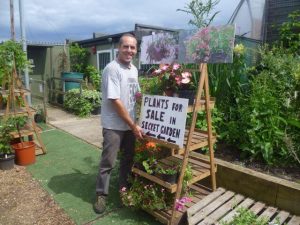
Community gardener and founder of yourspace.sutton Kevin Plicio runs local community garden nursery Seears Park Nursery in Sutton. This nursery runs on pure volunteer manpower and community spirit, running training courses and therapeutic activities in a calming and peaceful environment. He has been running the beautiful non-profit nursery for almost six years, transforming it from a run-down nursery to a social and stunning community hub which has just recently been opened to the public.
As his daughter, Hannah, I’ve grown up around the transformation of the park, seeing it go from overgrown and slightly wild, to open space and inviting. Perfect for family days out and picnics, the nursery offers scenic and photogenic open areas, free for the public to utilise.
Q- So, tell us about what made you want to run a community project? Well, the idea originally stemmed from me working at other projects, but these projects were all tailored to one specific group of people, or had one specific service, and I wanted to do something more socially integrating and open to all users, regardless of their background, age, or ability.
Q- What is there to see? Honestly, there’s so much! We have this really great pond that’s just teeming with life, frogs, fish, newts, and even in the evening we get the occasional duck family coming to stay – it’s such a sight! We also have vegetable patches, some art display inside the main classroom from a local artist Santiago Plicio, the polytunnels have a great plant selection, including a great cactus area. We’re also in the process of making smaller gardens as part of the garden nursery, where 6 out of the 16 planned are complete. We also have this really stunning willow circle, which is just beautiful.
thanks to Stephanie Krist for this photo
Q- Tell us about your volunteers, and who helps run the nursery. We have quite a large group of volunteers here at the nursery, and without them, there would be no way that the place could be running. Some people volunteer for a month, and some have been volunteering for years, and we appreciate every bit of help we get. Their generosity and time is something I’m always going to be so grateful for.
Q- You’ve just opened to the public for the first time in almost six years, how does that feel? It feels amazing, we’ve been getting this place ready for the public for so long and now it feels as if our work is finally paid off, and we can do what we’ve always set out to do, create a community project that everyone can benefit for. We’ve been running training courses and school placements for years which is so amazing, but now we can finally make it open to everyone, which was always the plan. We now run a plant sale every Saturday from 10:00am until 4:00pm, and the nursery is otherwise open Monday-Thursday from 9:30 until 5:30.
Q- Got any last words or comments that you want everyone to know? I’d just love to see you there! Bring your friends, family, dogs, come and experience and enjoy the nursery, see what’s here, and if you want to contribute in any way then we’d love to hear from you too!
Seears Park Nursery is open to the public from 9:30am-5:30pm Monday to Thursday, and 10:am-4:00pm on a Saturday for the plant sale and general public use. Follow them on Facebook for events and updates here
Note from Ali – Thank you so much, Hannah, for introducing me to your dad’s amazing community project. Here’s a picture of a pond that my 13-year-old son made, with the addition of the Junctus that he bought from the Nursery!
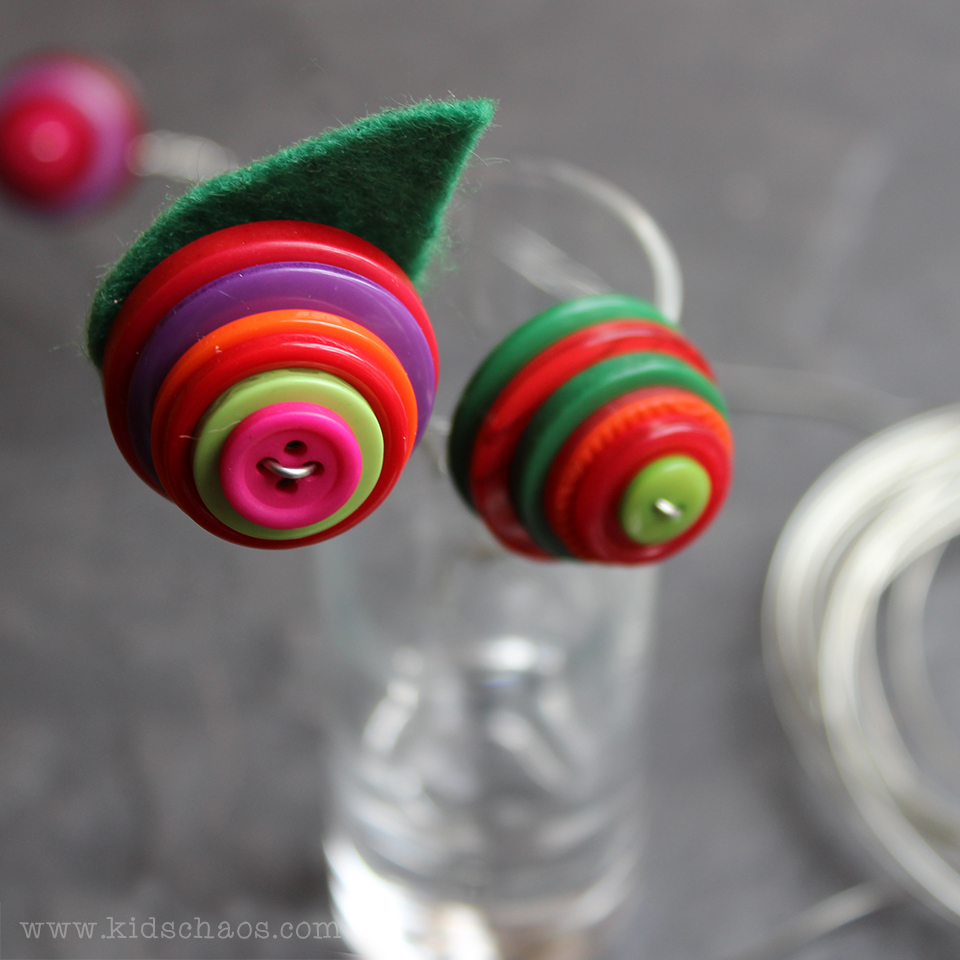
Every month we run a craft challenge on a theme – May is #ButtonCrafts.
Share your Button Crafts photos on Instagram, or over on Twitter, using the hashtag #GetYourCraftOn, add your link to the linky below, and we’ll pick the best ones to feature here on the host blog the following month. (and on our Pinterest board too)
The photos you share do not have to be of the finished article – let’s see your work in progress as well as your completed masterpieces! Anything related to the #Button crafts topic. Just tag them with #GetYourCraftOn and follow and tag us too so we know you’re taking part) Our team’s four Instagram accounts are: @incredibusy (that’s me!), @redtedart@bluebearwood & @missielizzie.
This month’s Craft Challenge is #Sheep Crafts in honour of the #ChineseNewYear#GetYourCraftOn, and add your link to the linky below and check out our Pinterest board too.
Piper – a Minecraft toolbox for anyone to create and invent with technology. Build electronics. Invent power-ups. Create the future.
So – the kids were pretty excited last week to hear from Mark at Piper all about their fabulous new toolbox for budding engineers who happen to like Minecraft!
As a family we tend to use ‘screentime’ as a reward at the end of the week, for best behaviour, and finishing homework without it being an excruciating teeth-pulling exercise. Minecraft is their favourite ‘go to’ game, and without further ado, read what our 10yo thought of Piper, and then watch the video!
In short, my son, 10yo RB says this:
“Minecraft toolbox – Build electronics with Piper. Piper is brilliant for seven and ups. I think it is really awesome because the instructions are in the game so it would make children and adults interested in making things outside of the game. Minecraft is a good way to get people that like Minecraft to play it. It will make a brilliant Christmas or birthday gift. It will entice people to play because it is easy to build so you can get started really quickly. Raspberry Pi is what all of the software runs on. Raspberry pie is a mini computer if you’ve got all the right equipment and gadgets luckily all of that comes in a really well made wooden box. The screen comes readymade and all fits in.
There are ten action-packed levels to complete in the game. You have to make your own buttons and fit the wires in the right places. The mouse comes with the box so you can look around.
There are lots more interesting exciting things about the game but they are for you to find out.”
RB Age 10 says – “NOW watch this video!”
How it works:
– First you assemble the wooden toolbox and connect it with the Raspberry Pi 2, a 7 inch LCD display, a power bank, and an assortment of electronics.
– Once assembled, you enter a Minecraft adventure map viewable on the LCD screen.
– Your Mission: guide a robot to rescue astronauts on a foreign planet. The robot’s hardware is damaged on the way over, and you have to build it in real-life to control the robot in the game to save the day!
How this educates kids:
– Each gadget you build gives you a special power-up and progresses you through the game
– First build the controller to navigate your robot. Add switches to activate hidden bridges and doors. A row of lights to serve as a proximity sensor and more.
Lucky Boy! He’s next on the list for a room makeover, and has very strong ideas himself of how that might look!
Room Makeover for boys
He’s always had the biggest room – and it’s been the shared ‘playroom’ for the two boys, however, with more and more homework and less time to play with ALL of their toys, we thought it would be a good time for a bit of a de-clutter.
He has a great cabin bed already, so we’re going to give that a lick of paint, and although we have watched a great video on youtube, with a ‘space up’ bed which opens up to store your clothes and books – I’m not sure we’re quite ready for that yet!
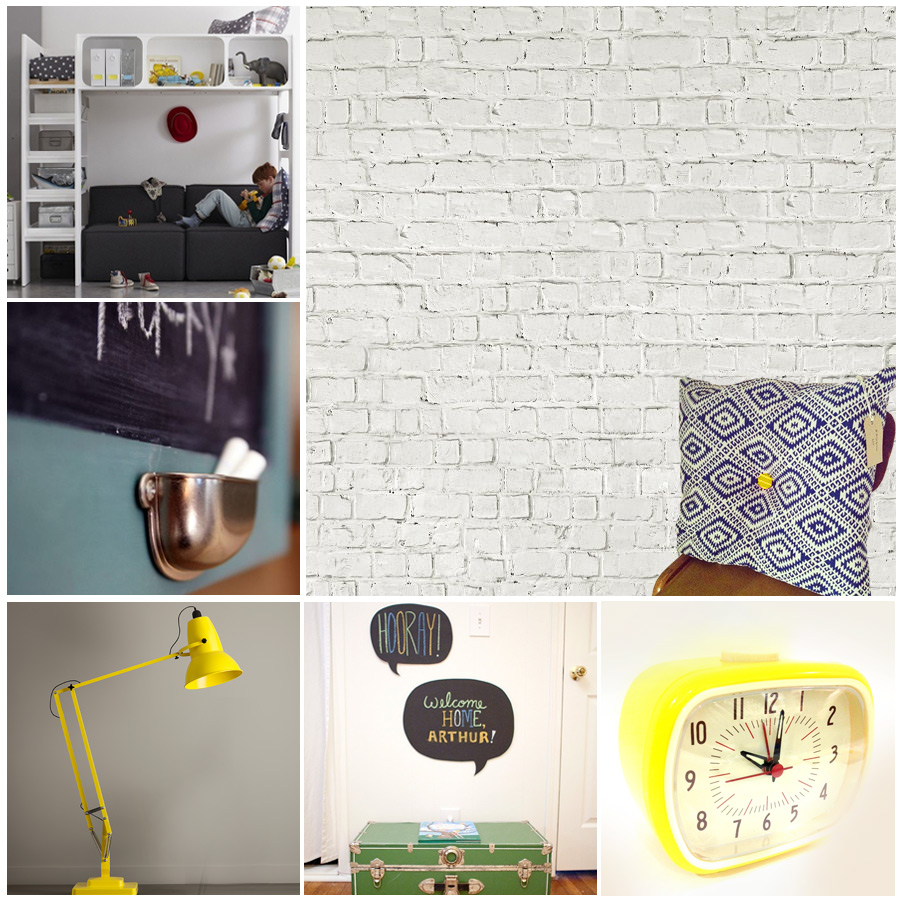
So we’re planning a room makeover for boys refresh with some fab brick patterned wallpaper, love the look of this white loft brick wall mural on one wall, and a chalkboard on another – using blackboard paint, and some fun cupboard handles to hold the chalk!
He really rather likes yellow too, so we’re on the hunt for an anglepoise lamp – and an Alarm Clock is a must – He struggles with the mornings!
He also has a sofa bed in his room, which we’re going to keep there, it’s ideal when unexpected guests arrive, and he bunks in with his brother – so we’ll add a few scatter cushions from new Finnish designer Nora instagram.com/projektityyny to tie it all together – His brother has plans for his own room too so watch this space!
I’ve been using Fimo as a modelling clay for a very long time – back to my Art Student days when I was making rather scary necklaces, with big spiky teeth!
And the husband is bit of a moustache fan, so we decided to make him a Mustache badge from fimo, for a little stocking filler for Christmas.
Another fab idea is to take the Moustache brooch, and pin it to the front of a folded card, and get your child to draw a face to go with it! I’ve attached another Happy Birthday template KidsChaos template to illustrate just what I mean!
 The carrot cake is a classic, and this carrot cake recipe’s a super-simple variation on that delicious theme. Just add grated carrots to the dry ingredients, which include both plain and wholemeal flour for extra texture.
 Ingredients
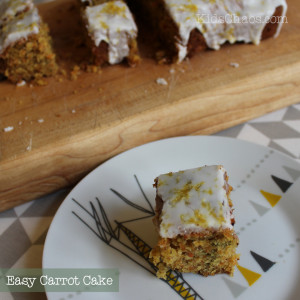 Method
 My dream pet would always have to be some sort of a colour changing reptile or a chameleon. I have always loved chameleons because of their ability to change colour to suit their surroundings or environment which they are in.
 Of course there is no need to get a pet anymore as we are currently happy with our young cat
 Fforest gather – a new kind of family holiday
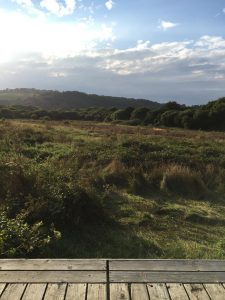 We stayed in one of the ‘
 The evenings were equally entertaining, with, Music from
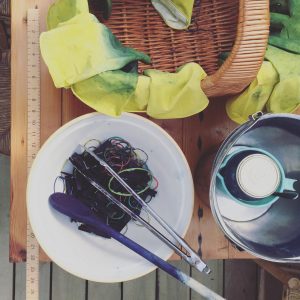
 Beer was high on the agenda for the grown-ups, with


 Ali also writes at


 Q- So, tell us about what made you want to run a community project?
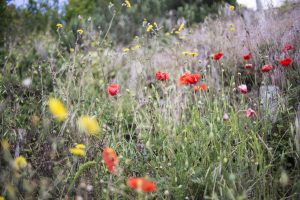

 Share your Button Crafts photos on Instagram, or over on Twitter, using the hashtag
 So – the kids were pretty excited last week to hear from Mark at
  How this educates kids:


 click this link to download the template Moustache Jewellery KidsChaos
 Ali also blogs over on