Arts and crafts have long been a beloved pastime, offering a way to unleash creativity, create personalised decorations, and make heartfelt gifts. No matter the holiday, from Christmas to Halloween, Thanksgiving to Easter, crafting can elevate celebrations with handmade charm. In this article, we explore some of the best arts and crafts ideas that suit any holiday, along with tips to make your projects stand out.
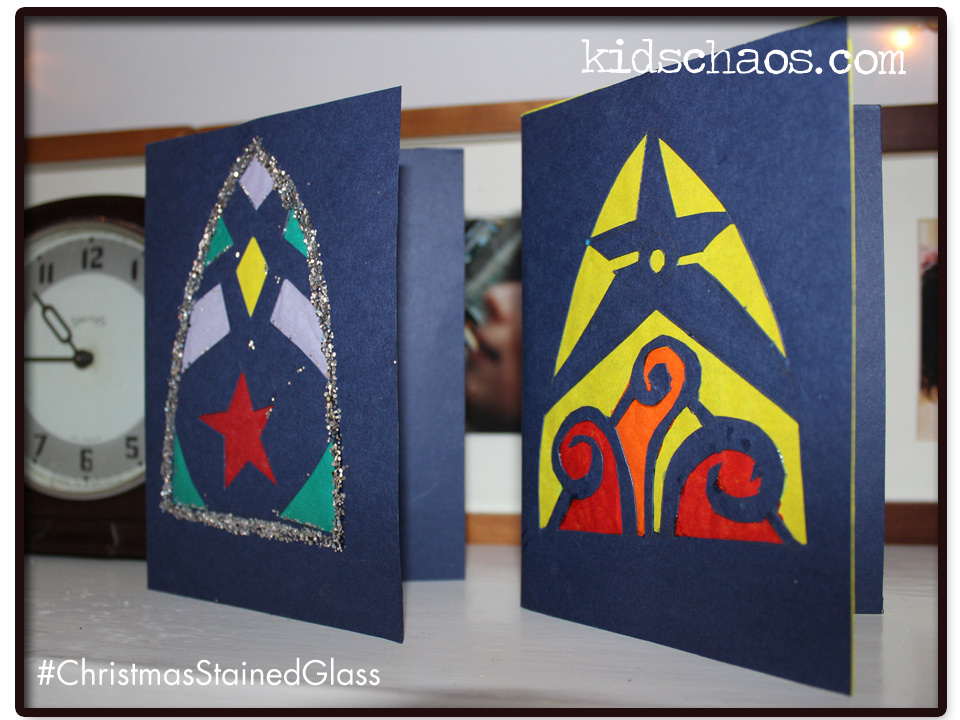
1. Personalised Holiday Cards
There’s something special about receiving a handmade card. Personalised cards let you tailor designs to specific holidays, whether it’s Valentine’s hearts, spooky Halloween scenes, or festive Christmas trees. You can use:
- Watercolors or Acrylic Paints: Create unique designs with vibrant colors.
- Calligraphy or Hand Lettering: Add elegant, custom messages.
- Stamps and Embossing Powders: Bring texture and dimension to your creations.
If you’re short on time or want professional-looking designs, using Christmas SVGs free templates can add flair without the effort of drawing from scratch. Simply cut the designs with a Cricut or Silhouette machine, and voila—your cards are holiday-ready!
2. Holiday-Themed Mason Jars
Mason jars are versatile and can be transformed into charming holiday décor. Here are some ideas:
- Halloween Lanterns: Paint jars with spooky faces or wrap them with gauze for a “mummy” effect. Add a tealight candle inside to create a glowing lantern.
- Christmas Snow Globes: Fill jars with faux snow, mini trees, and small figurines. Seal the lid and shake it for a magical effect.
- Easter Treat Jars: Paint the jars in pastel colors, add bunny ears to the lid, and fill them with candy.
Mason jar crafts are not only decorative but also make great gifts, especially when filled with homemade goodies like hot cocoa mix or cookie ingredients.
3. DIY Wreaths for Every Season
Wreaths aren’t just for Christmas! With a little creativity, you can design a wreath for any holiday:
- Spring/Easter Wreaths: Use pastel flowers, greenery, and egg-shaped decorations.
- Fall/Thanksgiving Wreaths: Incorporate autumn leaves, mini pumpkins, and burlap ribbons.
- Patriotic Wreaths: Use red, white, and blue elements for holidays like Independence Day.
Creating a wreath is simple with a basic grapevine or foam base. Add elements using a hot glue gun and hang it on your door to welcome guests in style.
4. Handmade Ornaments and Decorations
Making your own ornaments allows for a personal touch during the holidays. Here’s how you can customize them:
- Christmas Ornaments: Use clear ornaments to fill with glitter, paint, or miniature scenes. For a rustic look, try wood slice ornaments with painted designs.
- Valentine’s Day Décor: Create heart-shaped garlands with felt or paper. Hang them over doorways or windows for a festive touch.
- Fourth of July Décor: Craft stars from paper or fabric and string them into garlands for a patriotic celebration.
These handmade items are perfect for adding a personal touch to your home or giving as gifts.
5. Holiday-Themed Candles
Candles are a timeless holiday craft, adding ambiance and warmth to any celebration. You can customize them in a variety of ways:
- Scented Candles: Add holiday-inspired scents like cinnamon, pine, or peppermint.
- Decorative Candles: Use stencils or decals to add festive designs to plain candles.
- Layered Candles: Create multi-colored layers that reflect holiday themes, like red and green for Christmas or orange and black for Halloween.
Candle-making kits are widely available and make the process simple for beginners.
6. Painted Rocks for Every Occasion
Rock painting is a fun, budget-friendly craft that works for all ages. You can create:
- Easter Egg Rocks: Paint rocks to look like Easter eggs and hide them for a unique egg hunt.
- Spooky Rocks: Design rocks with ghost, witch, or pumpkin faces for Halloween.
- Holiday Messages: Write inspirational or holiday-themed quotes on rocks and place them around your garden or give them as gifts.
Seal the painted rocks with a weather-resistant varnish to ensure they last.
7. DIY Table Centerpieces
A festive centerpiece can transform your holiday table. Consider these ideas:
- Thanksgiving Cornucopia: Fill a woven basket with gourds, leaves, and seasonal fruits.
- Christmas Candle Display: Arrange candles of varying heights with pinecones and holly.
- Springtime Floral Arrangements: Use fresh flowers and pastel-colored candles for Easter or Mother’s Day.
Centerpieces can be as simple or elaborate as you like, making them a versatile option for any holiday.
8. Handmade Gift Wrap and Tags
Why buy gift wrap when you can make your own? Custom wrapping paper and tags add a special touch to any present:
- Stamping: Use holiday-themed stamps and ink to decorate plain kraft paper.
- Hand-Drawn Designs: Doodle festive images directly onto wrapping paper.
- Natural Elements: Incorporate sprigs of pine, dried orange slices, or cinnamon sticks into your wrapping for a rustic look.
For gift tags, cut shapes from cardstock and embellish them with stickers, ribbon, or calligraphy.
9. Holiday-Themed Tote Bags and T-Shirts
Personalized clothing and accessories are not only fun to make but also useful:
- Fabric Painting: Use fabric paint to create holiday-themed designs on tote bags or t-shirts.
- Iron-On Transfers: Print designs and apply them to fabric using a heat press or iron.
- Embroidery: For a more advanced craft, add embroidered holiday motifs to clothing.
These items make fantastic gifts and can also be used to carry holiday essentials.
10. Baking and Decorating Cookies
While not a traditional craft, decorating cookies is a creative activity that doubles as a delicious treat. You can:
- Use Royal Icing: Create intricate designs on sugar cookies shaped like holiday symbols.
- Make Gingerbread Houses: Build and decorate miniature houses with candy and icing.
- Themed Cupcakes: Decorate cupcakes with fondant or piped frosting in seasonal colors.
Hosting a cookie decorating party is a fun way to engage friends and family in holiday preparations.
There You Have It
No matter the time of year, crafting is a delightful way to celebrate the holidays and add a personal touch to your home and gifts. Whether you’re painting rocks, designing wreaths, or making personalized candles, these arts and crafts ideas will spark joy and creativity. With just a few materials and some imagination, you can create beautiful decorations and keepsakes that make every holiday memorable. And don’t forget to explore free templates for added inspiration and ease in your crafting projects!
This is a collaborative post.