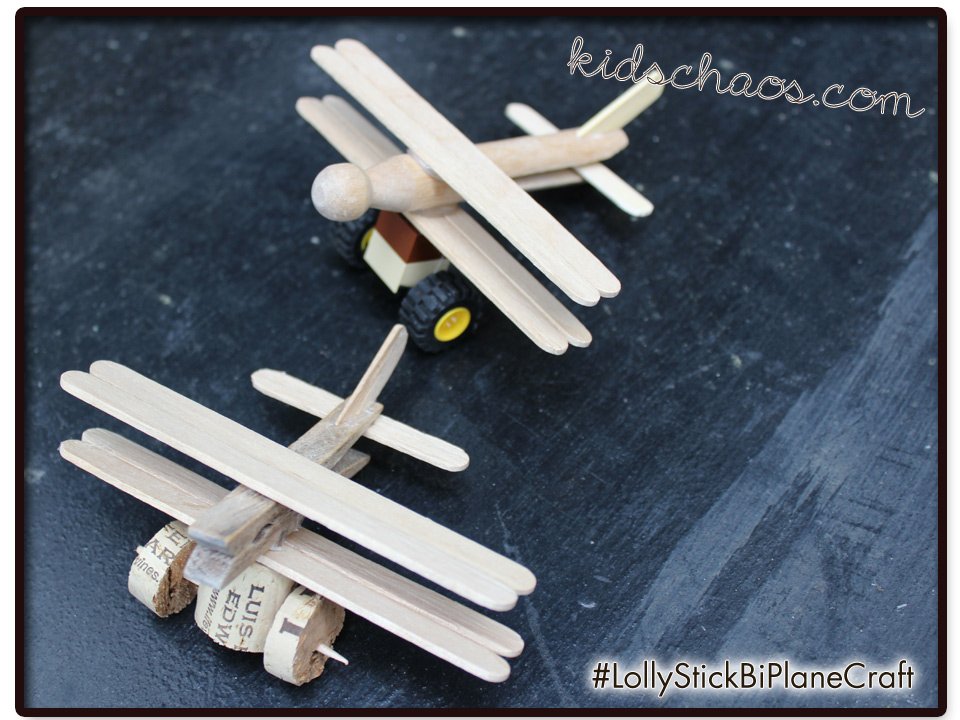
A nice quick and easy craft for you today… you need five recycled ice lolly sticks for each plane (that’s a lot of lolly-licking – you CAN buy popsicle sticks in bulk though!) This post has now moved to http://incredibusy.com/clothes-peg-bi-plane/
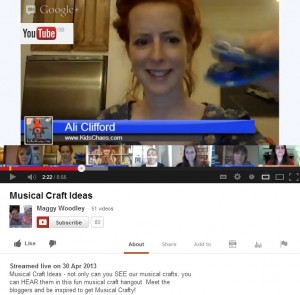
I hung out on Google+ for a bit of a vlog… with some craft buddies to share these peg planes, hosted by the ever lovely Maggy from Red Ted Art who showed us four crafts including her Lollipop traffic light biscuits which are featured in her book. Another great lolly stick craft here from Craftulate – popsicle sticks and magnets! Pop back later for more links to Aly Hodge, Anthea, Kelly, Liz‘s lolly stick boats, and Rebecca. Maggy’s other feature crafts were superhero-puppets and spiderwebs.
 Are you on Google+ Follow me here, and say hello, and I’ll add you back to my circles.
Oh, and I’m on twitter.com/Incredibusy too… Erm, and funnily enough on Facebook and Pinterest! Pop over to say hello x
Ali also writes over on FunCraftsKids.com


 Oh, and I’m on


 I had recently been singing the praises of Rococo Chocolate on twitter, as earlier this month I had wolfed down a couple of delicious ‘grown-up’ birthday bars (all to myself)….


 It’s a *
 We’ve got rocket, tomatoes, salad leaves, and more – I’ll be back tomorrow with news on our planting, will let you know how we get on! 🙂