A nice quick and easy Father’s Day Monster Truck card for you to download, print off, and add your own touch with these slices of cork… any excuse for another glass of wine eh?!

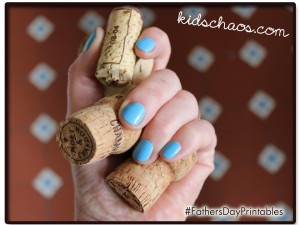
Simple to do… take a couple of different sized corks, I used a champagne cork, and a wine cork…
Using a carving knife (careful!) slice the corks into Monster Truck ‘wheels’ and stick onto the card, one for the back, one for the front wheel…
Click here for our other VERY popular Jigsaw piece printable Father’s Day card, so you can have one of each!

click here to print the Monster Truck> Printable www_KidsChaos Cork card FathersDay
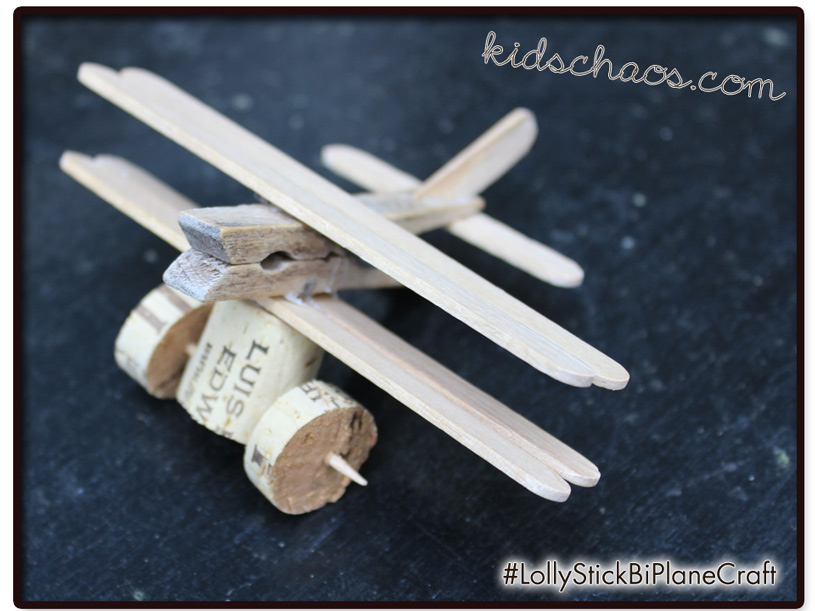
We had previously used slices of corks for wheels on our bi-plane pictured here…click the image to read more about THAT craft too!
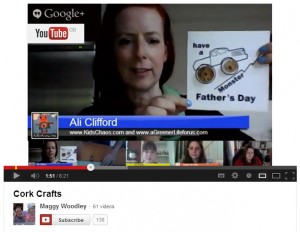
I hung out on Google+ for a bit of a vlog… with some craft buddies to share these cork crafts, hosted by the ever lovely Maggy from Red Ted Art who showed us several cork crafts, some CUTE Knights and Santas including printed bunting in her book. Pop back later for more links to Anthea, Kelly, Liz, The Fairy and the Frog, and Rebecca.
 Are you on Google+ Follow me here, and say hello, and I’ll add you back to my circles.
Oh, and I’m on twitter.com/MoreKidsChaos too… Erm, and funnily enough on Facebookand Pinterest! Pop over to say hello x Like it? Pin it!
Ali also writes over on AGreenerLifeforus.com


