Decorating your home with kids can be a fun, creative, and bonding experience. With the rise of Peel off wallpaper, transforming a room has never been easier. Unlike traditional wallpaper, peel and stick options are simple to apply, remove, and reposition, making them ideal for families who want flexibility and style. From full-room makeovers to small DIY craft projects, this guide covers everything you need to know to use peel and stick wallpaper with your kids.
Why Peel and Stick Wallpaper Is Perfect for Kids
Peel and stick wallpaper offers numerous benefits for families with children:
- Easy Application: No paste, no mess, and no special tools are needed.
- Removable & Reusable: Mistakes are easy to fix, and designs can be changed as kids grow.
- Safe for Walls: Gentle adhesive won’t damage paint or plaster.
- Variety of Designs: Endless options from playful patterns to educational motifs.
By choosing kids wallpaper, you can create a room that’s not just functional but also a source of inspiration for your little ones.
Transforming Full Rooms With Kids Wallpaper
When you want to make a big impact, covering an entire room with peel and stick wallpaper can completely change its feel. Here’s how to do it effectively:
1. Choose the Right Design
- Theme-Based Rooms: Jungle, space, ocean, or fairy tale themes work well for kids.
- Color Psychology: Soft blues and greens create a calming effect, while bright yellows and reds add energy.
- Durability: Select high-quality peel and stick wallpaper that resists peeling and can handle occasional cleaning.
2. Measure and Plan
- Measure the walls carefully to determine how much wallpaper you’ll need.
- Sketch the layout to align patterns and avoid mismatched designs.
3. Prep the Walls
- Clean walls thoroughly to remove dust and grease.
- Smooth out bumps or holes for the best adhesion.
4. Involve Your Kids
- Let them pick patterns or help with small pieces.
- Encourage them to place stickers or smaller wallpaper sections under supervision, boosting their creativity.
Accent Walls: Adding Style Without Overwhelm
If a full-room makeover feels like too much, start with an accent wall. Accent walls create a focal point and give personality to a room without overpowering the space.
Steps to Create a Perfect Accent Wall
- Pick the Right Wall: Choose a wall visible upon entry or behind a bed or play area.
- Select Bold Patterns: Vibrant designs work best for accent walls, while surrounding walls can remain neutral.
- Layer Subtle Textures: Mix plain and patterned wallpaper for depth and visual interest.
DIY Crafts With Peel and Stick Wallpaper
Peel and stick wallpaper isn’t just for walls. Its flexibility allows for fun and educational crafts with kids. Here are some ideas:
1. Cover Notebooks and Journals
- Kids can personalize school supplies with favorite patterns.
- Teaches organization and pride in ownership.
2. Create Decorative Panels
- Cut wallpaper into smaller panels for shelves, toy boxes, or closet doors.
- Use removable wallpaper to change designs seasonally.
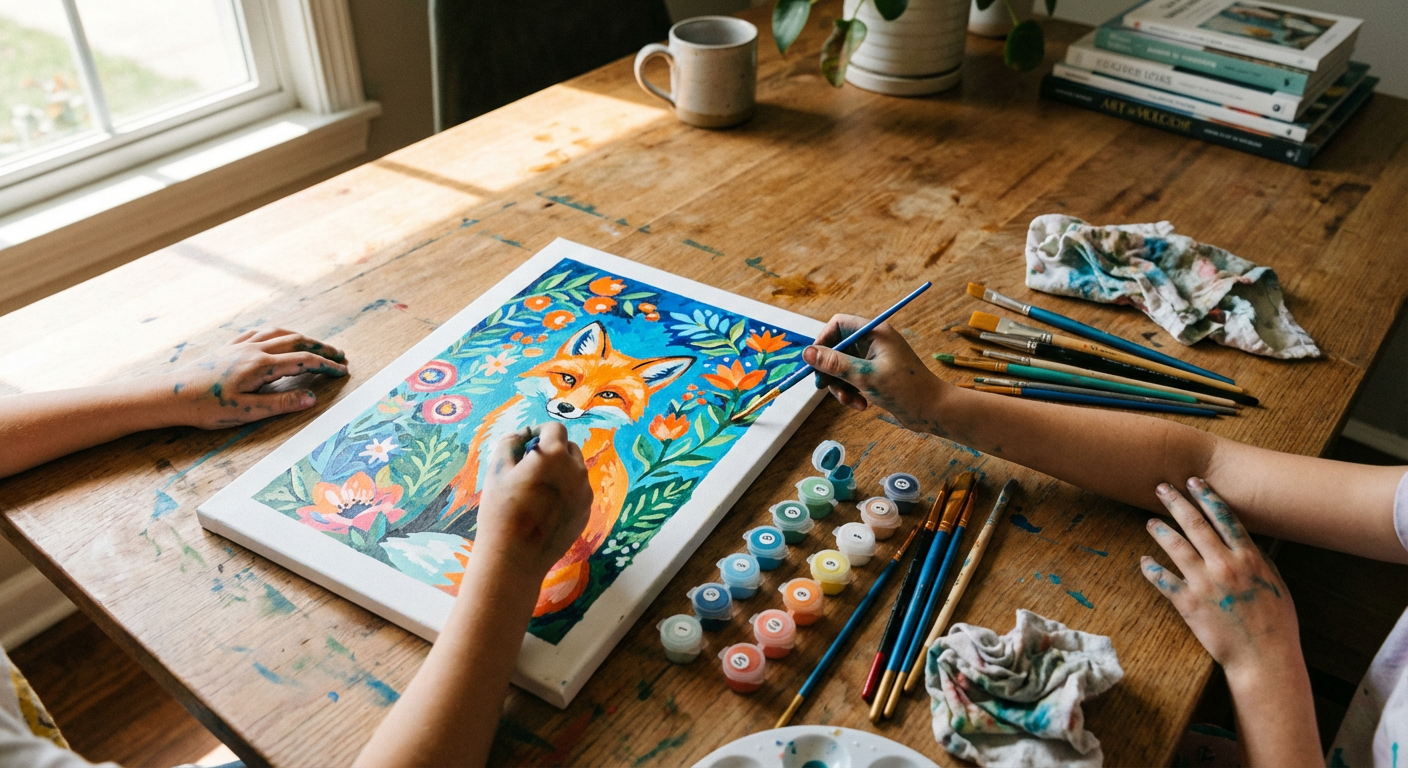
3. Art Projects
- Let kids cut shapes and create wall art or collages.
- Encourages fine motor skills and color recognition.
Safety and Tips When Using Peel and Stick Wallpaper With Kids
To ensure a smooth experience, follow these practical tips:
- Keep Small Pieces Away from Infants: Some designs may involve tiny, peelable elements.
- Avoid High Humidity Areas: Bathrooms may reduce adhesive effectiveness.
- Supervise Tools: Scissors and rulers should always be handled safely.
- Clean Walls First: Dust-free walls improve adhesion and prevent air bubbles.
Step-by-Step Guide to Applying Peel and Stick Wallpaper
Here’s a detailed guide to make your wallpaper application stress-free:
Materials Needed:
- Peel and stick wallpaper
- Measuring tape
- Pencil
- Level
- Smoothing tool (or credit card)
Instructions:
- Measure and Cut: Pre-cut wallpaper panels to fit your walls.
- Peel Backing Gradually: Remove a small section of backing to avoid sticking incorrectly.
- Align and Apply: Start at the top of the wall, smooth downwards using a squeegee or card.
- Smooth Bubbles: Press out air bubbles from the center to edges.
- Trim Edges: Use a sharp blade to trim excess wallpaper along corners or edges.
Creative Ideas for Kids’ Rooms
- Learning Walls: Alphabet, numbers, or maps printed on peel and stick wallpaper can turn walls into interactive learning tools.
- Chalkboard Peel and Stick: Some wallpapers double as writable surfaces for drawing and practice.
- Theme Corners: Create a small reading nook or art area with themed wallpaper to make the corner special.
Maintenance and Updates
One of the best features of peel and stick wallpaper is its removability:
- Easy Cleaning: Wipe with a damp cloth to remove dirt or stains.
- Quick Updates: Swap out old patterns as your child grows or as seasons change.
- Damage-Free Removal: Simply peel it off without harming paint or wall texture.
Benefits of Using Kids Wallpaper
Using kids wallpaper has advantages beyond aesthetics:
- Encourages Creativity: Children learn to appreciate colors and patterns.
- Boosts Confidence: Letting kids help in decorating gives them a sense of ownership.
- Stress-Free Decor: Peel and stick wallpapers reduce the mess and commitment of traditional options.
- Flexible & Affordable: High-quality designs are budget-friendly and easy to replace.
Final Thoughts
Decorating with peel and stick wallpaper is a fantastic way to involve your kids in creative projects, refresh rooms, and explore endless design possibilities. Whether you’re tackling a full room transformation, creating an accent wall, or engaging in fun craft projects, this type of wallpaper provides flexibility, safety, and style.
Explore high-quality designs at Love vs Design and transform your home with kids wallpaper that inspires fun and creativity. Decorating with peel and stick wallpaper is a perfect addition to any family home. For interior design enthusiasts, guest posting opportunities can help you share ideas, trends, and DIY inspiration with a larger audience.
This has been a collaborative post.