So with much delight, we introduce our latest invention, the Milk Carton Skull Lanterns!
Spike age 14:
We really wanted to have a go at making some skull lanterns, and thought the milk carton would be perfect for this, and it wasn’t until we started planning the graphics for it that we realised how brilliant it was that the handle itself created two brilliant indentations that were perfect for the skull’s eye sockets!!
We’ve since made LOADS of these are they are so easy to make, you can either print off the FREE printable here, or use marker pens, like these * affiliate links which work really well on plastic bottles – for full instructions watch my Mum’s incredibusyyoutube video here.
For the PRINTABLE Skull’s face template click here
Inspired by a *how to* video RedTedArt and myself made this week, we got a little bit seasonal and decided to turn our giant orange paper pom-pom into a PUMPKIN!
So here’s a halloween pumpkin FREE printable for you to download, print off and stick with a Pritt stick onto to the paper pom-pom – how cool is this! If you like this, you’ll like 11yo’s spin on it – with his FREE downloadable Witch’s face here.
Really easy Pumpkin face – halloween pumpkin free printable, have a go by clicking here for our FREE downloadable template just print off, and cut out the shapes, in fact, print two, and use one as a template for your pumpkin this year too!!
12 simple steps – really easy to follow, our kids have been making them in ALL sorts of colours – we’ve even mixed up different shades of green here…
If you fancy having a go yourself click here.
Free printable Pumpkin face, just attach to giant paper pom-pom or use as a template to carve your pumpkin!
If you have a thing for giant paper pompoms, click here to see our crepe paper version, with raindrops!
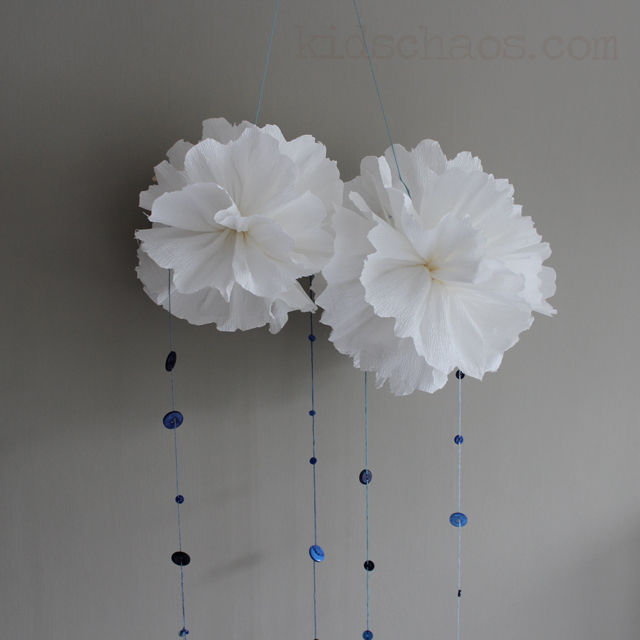
We posted a link to one of our most popular instagram pictures a few month’s ago – these crepe paper pom-pom clouds, with button raindrops which had everybody gasping with delight – and didn’t get around to actually posting a full how to, so here we go… (you can see why it took so long to post a ‘how to’ – LOTS of photos!)
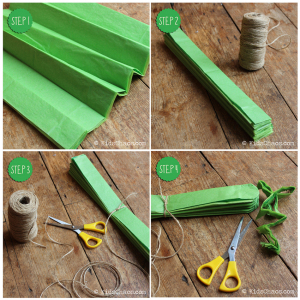
1, 2) Concertina fold 8-10 sheets of tissue paper
3) Tie a length of string to the centre of the folded paper
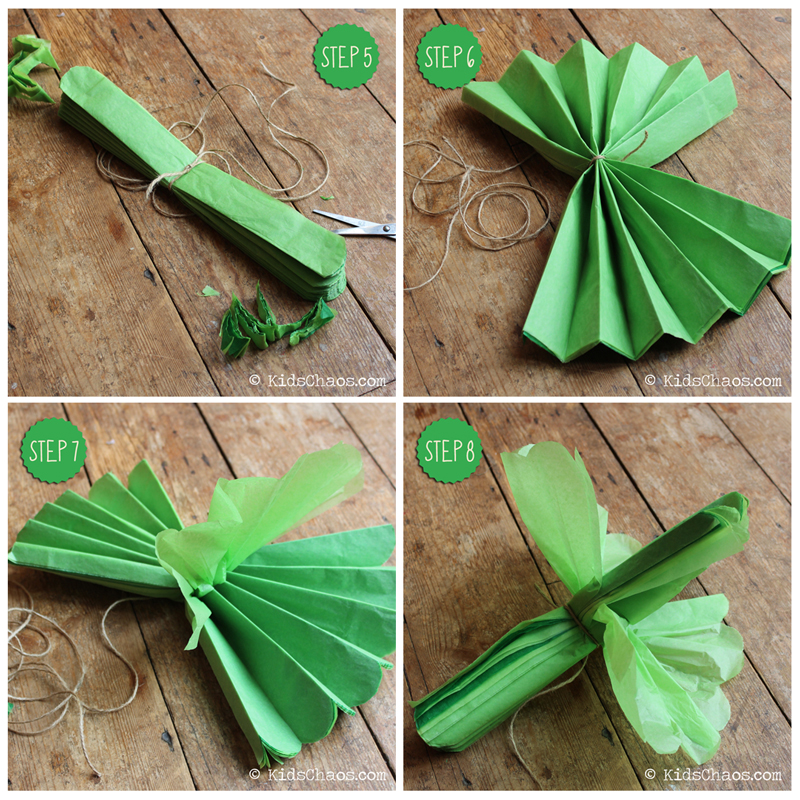
4, 5) Trim the two ends of the folded concertina paper in a curve (keep the off-cuts, you never know when you might need them!)
6) Fan the pom-pom out flat as it will go
7) Pull up one thin sheet of tissue paper at 90 degrees
8) Pull out the opposite sheet of tissue paper, at 90 degrees
9) Rotate the tissue paper pom-pom and pull out opposite sheets of the paper
10) Keep pulling and fluffing the single sheets of tissue paper to create the paper pompom.
and that’s it! – to see how you can create something quite amazing to hang in your bedroom, click here to see our crepe paper version, with raindrops!
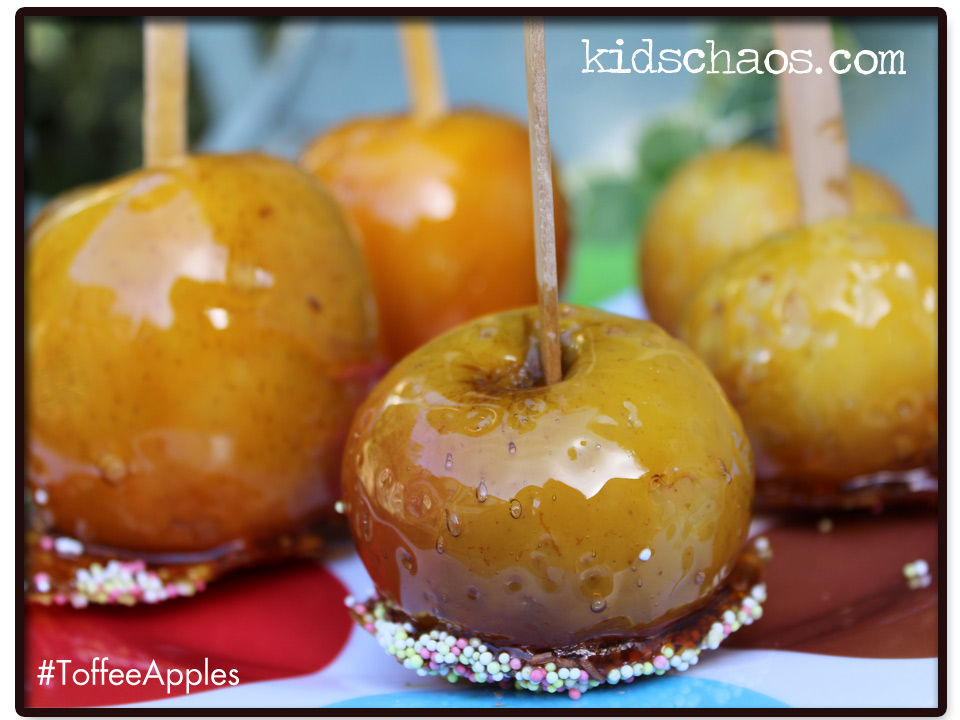
I used to LOVE Toffee Apples as a kid, well, I SAY that, I do seem to remember just eating the toffee, and discarding the bit with the vitamins… My boys on the other hand, food-swots that they are, love getting through the toffee to the yummy healthy apple centre! So I thought I’d share the recipe we use with you, just in time for Halloween and a few fireworks for Bonfire Night here in the UK!
you will need:
6 medium sized apples
200g golden caster sugar
2 tbsp golden syrup
half tsp vinegar
50ml water
Sprinkles (optional)
1) Pop the apples into a bowl of boiling water to remove the waxy finish, rub them dry with a tea towel, this allows the toffee to adhere to the apples. Push a wooden lolly stick into each apple.
2) Lay a sheet of greaseproof paper onto a plate beside the stove, and space the apples on this so they do not touch each other. I sprinkled some ‘hundreds and thousands’ onto the paper first, you don’t NEED to do this… looks pretty though 🙂
3) Pour the sugar into a pan along with 50ml water and set over a medium heat for five mins until the sugar dissolves, then stir in the vinegar and syrup. If you have a sugar thermometer (I don’t), pop it in the pan and boil to 140C or ‘hard crack’ stage. I find after about ten mins, you can test the toffee by pouring a little into a bowl of cold water. It should harden instantly and, when removed, be brittle and easy to break. If you can still squash the toffee, boil it for a tiny bit longer…
4) Next bit – act fast! Dunk the first apple into the pan, swill the toffee around so it’s fully coated, allow excess to drip back into the pan, and then place the apple back into its spot on the greaseproof paper, careful not to bump it into the other apples…
Obviously let them cool down well before eating, as the toffee is SUPER hot, and if you have any toffee left over, poor onto another sheet of greaseproof paper (with a lip so it doesn’t run) and the kids can have fun cracking it with a rolling pin when it’s cooled and set!
What is it with skulls? There is something so graphically appealing about them… and with several small boys to entertain for yet another birthday party, I decided to involve them in making wrapping paper, and party bags… So we each carved a face into a potato and got printing!
It’s pretty simple stuff, you can see in the photograph of the potato, you slice it lengthwise, and carefully cut the mouth and eyes with a sharp knife. It’s essential that the potato is sliced FLAT otherwise the print won’t be nice and clean.
8yo (as he was at the time) enjoyed mixing the colours to get the murky grey, and we rolled out some brown packing paper on the table to print up the wrapping paper. The party bags are really easy to make too, you need a tissue box for a template and for an easy ‘how to’ vlog – click over to redtedart.com where one of my earliest appearances on video camera will entertain you…
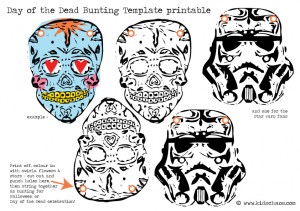
These potato skulls would be great for Halloween bunting, or if you didn’t fancy getting the paints out, dowload my FREE Day of the Dead printables here.
Want to see me talking about this project and skull potato printing? Click the link and photo left, to watch via youtube…. Maggy Woodley from Red Ted Art hosted a fabulous “Halloween crafts’ on Google+.
So Autumn is upon us, and time to look at a Mexican holiday celebration which is new to my boys: Day of the Dead, or Dia de los Muertos which is the first two days of November.
Although the holiday involves artistic representations of skulls and skeletons, the occasion is festive, rather than morbid. Death isn’t seen as the end of one’s life, but as a natural part of the life cycle; the dead come back to visit every year. In the UK, around this time of year, Halloween’s images of skulls and skellybobs are spooky,eery, and scary. By contrast, On Day of the Dead, it’s about celebrating with the family both alive and remembering those who are no longer with us.
I asked the boys what they would like to make, and ‘masks’ and ‘bunting’ seemed popular and do-able choices… as they are 9 and 10 now, and love their Marvel graphic novels, they wanted me to ‘draw’ the templates in Illustrator for them to colour – so that’s what we’ve done… and I’ve attached a FREE Printable for you to colour and create your own Day of the Dead garland too…(you too can make your own ‘microwave dave’ character like the 10yo…)
Want to see me talking about this project and skull potato printing? Click the link and photo left, to watch via youtube…. Maggy Woodley from Red Ted Art hosted a fabulous “Day of the Dead crafts’ on Google+.
Maggy talked us through some lovely ideas, from skulls on stones, and corks, balloons and more links to follow from Anthea at zingzingtree who loves a bit of skull face painting, and talked about T-shirt printing, skeletons and sculpting and glitter and check out Kelly at domesticgoddesque.com and her day of the dead spoon craft!
Here’s a very simple stick craft we’ve been doing this week… great shadow puppets inspired by Chinese New Year this weekend:
You’ll need some sticks (!) from the garden, or as we do, collected on weekend walks by small children. Some black card, sellotape, a pencil, scissors and some ‘brads’ (the pins with bendy legs, I never remember what their name is!) Oh, and some coloured tissue paper or sweet wrappers. AND a torch if you fancy doing a shadow puppet show!
We drew the dragon ‘pieces’ out onto the black card – cut them out, and joined them together with the brads (we used a bit of plasticine behind the card, and pushed a pencil through to make the hole for the brad).
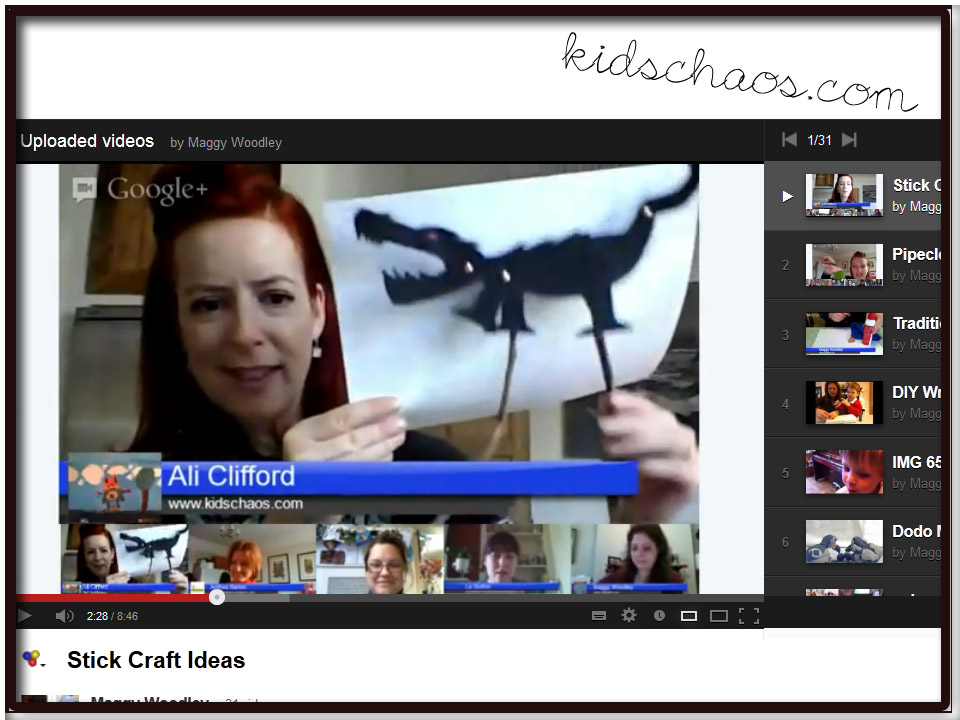
Attach the sticks with tape at the back and you’re ready to go! You’ll need a couple of characters for the shadow puppet show – standing behind a large white sheet – we dimmed the lights, shone the torch and tried them out. We made up some short stories for our characters and put on a fun silhouette show!!
So, what do you do – let them eat all of their Halloween treats all in one go? Or stagger it and let them eat some every few days? Anyone know a dentist?!
So, I normally leave any unnecessary “decorated” cake making to neighbours (!) – saving my skills for special occasions such as Birthdays, and um, Birthdays.
So, chancing upon some amazingly simple cupcakes today, in our local cafe – the Gooseberry Bush, I thought I’d share these with those of you who can’t make it to Wimbledon in the next few days!