Inspired by the button cupcakes we created for swing tags for Mother’s Day, we found some thin wire and got busy with this button flower craft.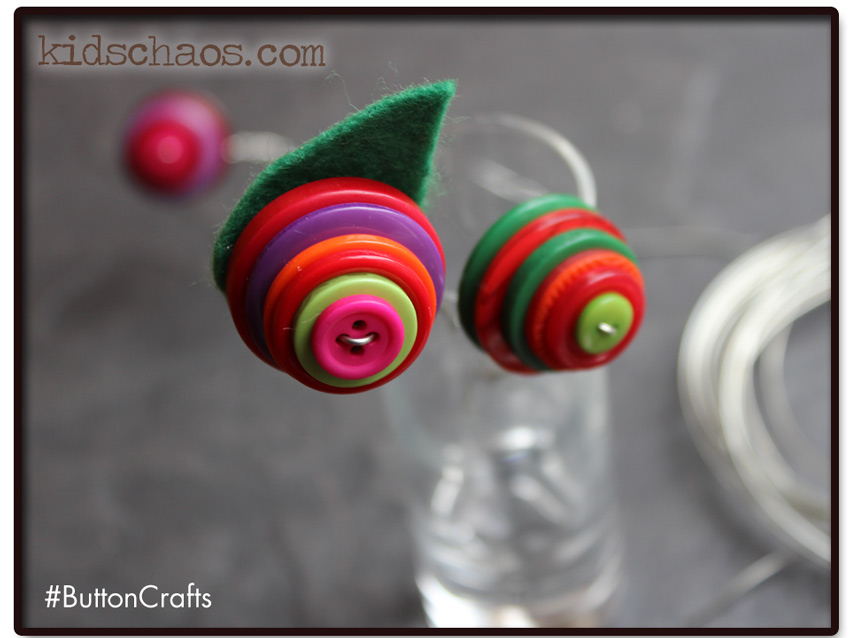
The wire needs to be quite a narrow gauge to make it ‘bendable’ for smaller fingers – and choose buttons within a sympathetic colour spectrum to make the flowers quite beautiful!
For this button flower craft, I found that the best way to do this is to arrange the buttons in the size order you’d like, ie, larger buttons at the back and then feed them onto the wire.
IMPORTANT – make sure you thread the wire through the buttons across the diagonal if there are four holes in the button, this way the buttons sit flat on top of each other – I cut a petal shape from some off-cuts of green felt to make the petals.
 If you’d like to see more button crafts, check out our button raindrops and giant paper pom pom clouds, our Button Cupcakes and Christmas Rudolph Greetings Cards, and watch the Google+ hangout hosted byMaggy at RedTedArt where myself, Anthea and Maggy shared our favourite button crafts.
Ali also blogs over on aGreenerLifeforus.com and is a new lover of Instagram too… pop over and say hello!


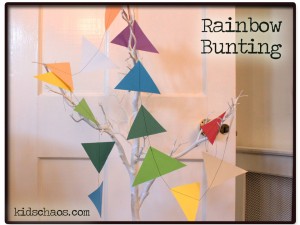
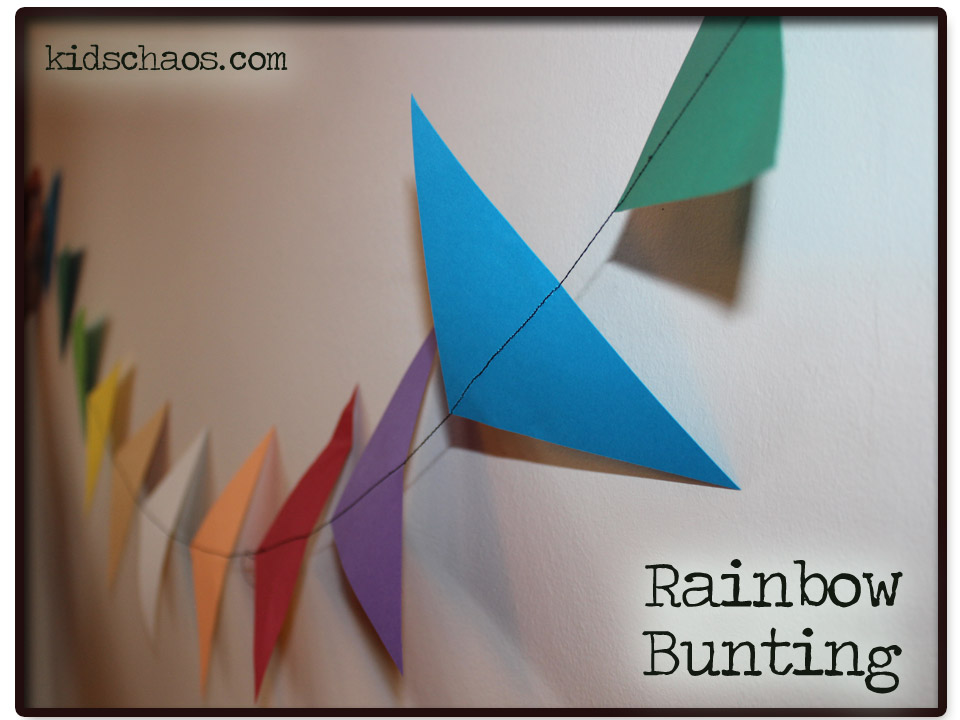 So I had this idea to make some colourful paper bunting with some left over paper triangles (don’t ask, I can’t bear to throw ANY scrap of paper away – even if it IS destined for the recycling!) And rainbow bunting sprung to mind… Avoiding the typical rotation of the triangles, we went with sewing down the MIDDLE of the triangle – and there you have it!