Papier Mache Disaster Meteorite
So, we decided to make some Papier-mâché hot air balloons… that’s how it started out, all good intentions.
So 7yo being the possibly more crafty of the two (yep, the 5yo is crafty in other ways, say no more) got stuck right in….
 1) We made the glue: mixed one cup of flour, and two cups of water, and a teaspoon of cinammon (that way it smells nice too)
 2) We ripped the newspaper into strips
3) 7yo took off his brand new hoodie as he didn’t want to get it mucky

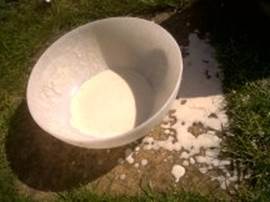
 4) We pulled each strip through the ‘glue’ and let it drip back into the bowl (AND all over the garden too, much to SAHD’s delight)
5) We layered and layered until the balloon (Oh, I didn’t mention that bit did I? – blow up a balloon, and balance it on a bowl to stop it blowing or rolling away) was covered in paper mache.
Then we had to leave it to dry for a day (which is where 5yo lost interest, so I’d say stick with one layer if you’re not bothered about keeping the masterpiece for ever!)
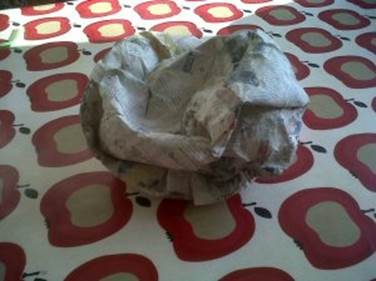
 We learnt an important lesson here, on Day 2 when we went back to add another layer, 7yo’s balloon had shrivelled, but we layered on some more paper mache…. MISTAKE, with no balloon inside to hold it’s shape this happened…
Not to be out-witted by the wilted balloon, 7yo spun it round (phew, was waiting for a tantrum) and said he would make it into a meteorite – which is what he did! Job done…
Thanks to Maggy at RedTedArt for continuing to encourage us to ‘get crafty!’
For a more successful foray into papermache check out our post here on Paper mache seed pots – using the blender! and using pulp from cereal boxes … this time it worked!
Pingback: Day of the Dead Party & Make Your Own Pinata - Party Delights Blog